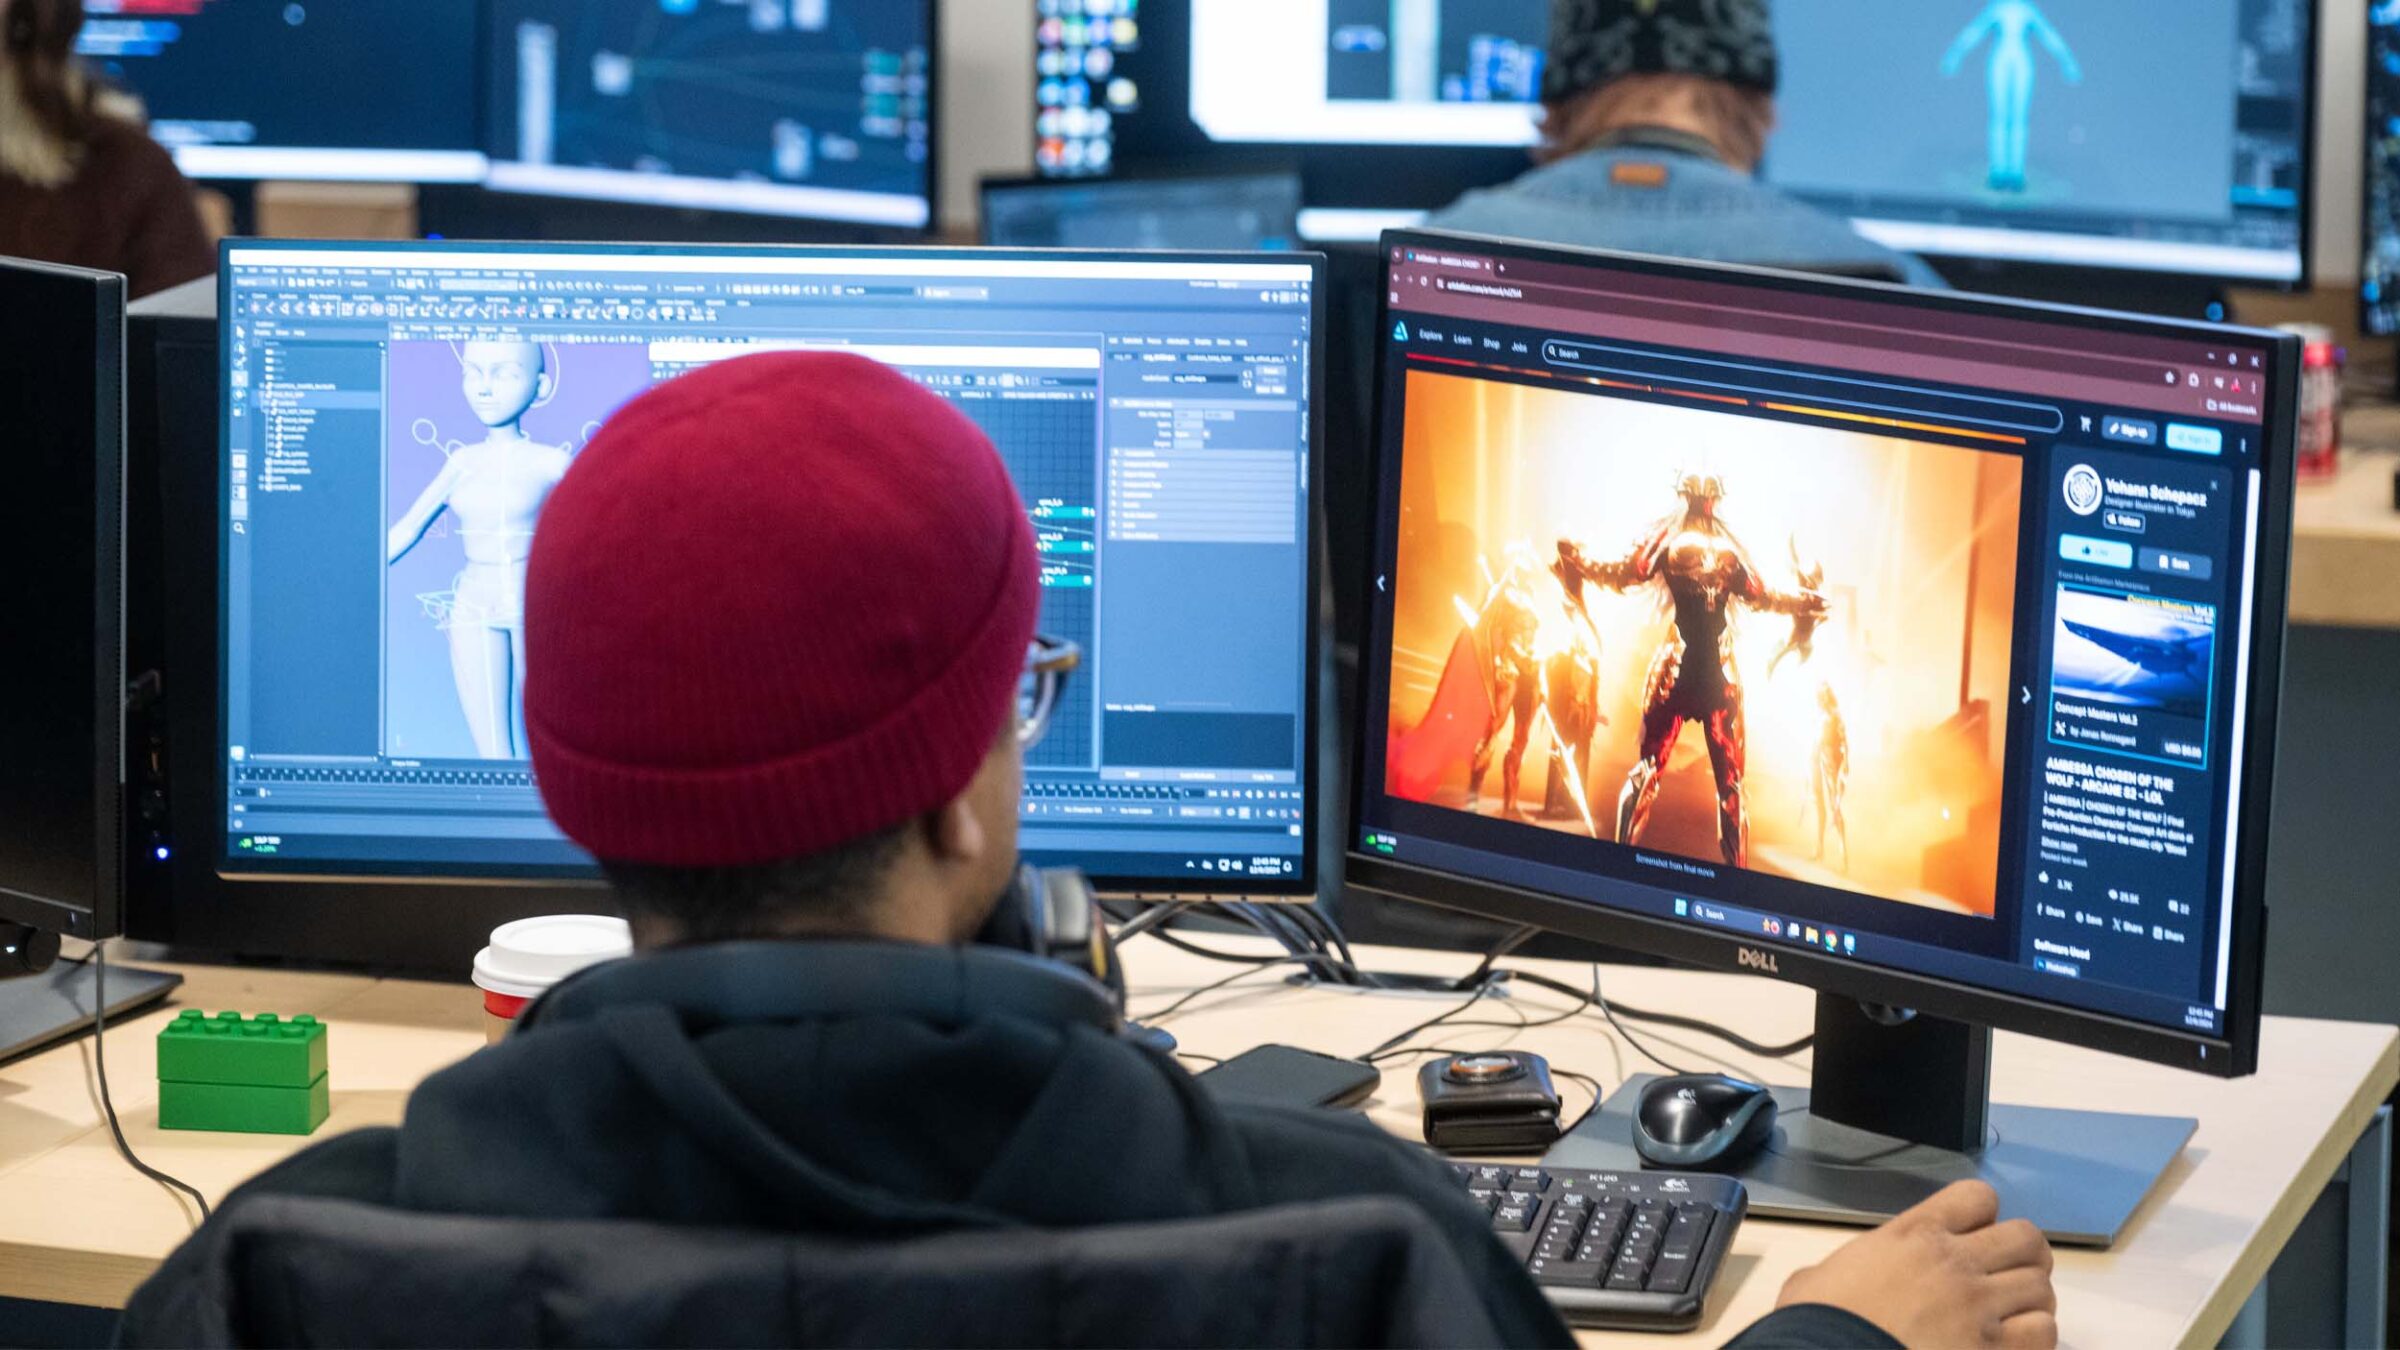
Ever wonder what actually goes into a completed animation for film, TV, portfolio reels, or other media? There’s a lot more happening behind the scenes than you’d expect. It all starts with an animator’s creativity and ability to write, design, and create stories, characters, and worlds.
No matter what you’re animating or what style you’re working in, a different piece of software touches nearly every step, from the first sketch to the final render — but none of it means anything without the ideas and creativity driving it. Here’s how that process comes together, and the most common animation tools animators use to bring their stories to life.
What Is Animation?
Animation is the art of giving life to still images, one frame at a time, and captivating audiences through movements that feel real. It’s an animator’s job to build the illusion of movement and take the scene or character from point A to point B with as smooth a motion as possible.
The starting and ending points of that motion are called keyframes — the intentional frames animators build everything else around. These poses tell the story of the character’s action before they start any movement. Everything that happens between those keyframes is called an inbetween.
If you’ve ever clicked frame-by-frame through your favorite animated movie or YouTube video, you’ve probably noticed a few inbetweens that look a bit wacky or stretched in ways that aren’t anatomically correct. This is actually one of animation’s core principles — squash and stretch. It’s part of what makes motion feel believable instead of stiff or unconvincing.
Animators also rely on timing and spacing (how many frames a motion takes, and how evenly or unevenly they’re spaced) as well as arcs (curved paths of motion, since almost nothing in real life moves in a perfectly straight line) to sell the illusion.
When your character turns their head from left to right, they might blink, or their face might squish slightly with the motion, following a natural arc. Once it’s played at normal speed, it will feel and look smooth thanks to a phenomenon called persistence of vision, in which a fast sequence of still images blends into what appears to be continuous motion.
How Animations Are Created
Before we get into the animation tools and software you’ll actually use, it helps to understand what you’re using it for. Every animation, no matter the style or size of the team, comes together in three stages:

The Animation Pipeline
Pre-Production
This is the planning stage that keeps everything that follows on track. It’s where the storytelling starts to take shape: ideas form through concepts, moodbards, scripts, and storyboard sketches that map out what happens before a single frame is animated. From there, animatics get built — proof-of-concept storyboards with implied movement, often paired with early sound and music cues to help lock in pacing. At the same time, characters, locations, and environments begin to take shape through early design work. By the time production starts, the story’s already been told once on paper.
Production
Whether you’re working in 2D, 3D, VFX, or a mix of techniques, this is where ideas and storyboard concepts finally come to life. It’s the largest stage of the animation process, since the heavy lifting happens here: Modeling, character rigging, texturing, lighting, layout, design, and, of course, animating the movement itself. In 2D animation, this is where keyframes and inbetweens get drawn. In 3D, it’s the blocking stage where animators pose out the major movements first, then refine and smooth the motion until it plays back seamlessly.
Post-Production
Once the animation is built, it still has to come together into something you can actually sit down and watch. That starts with compositing — taking every layer from production (characters, backgrounds, effects) and flattening them into one finished shot. Some software handles this all in one place, while others require animators to export their animations into a separate program built just for compositing and editing. From there comes rendering, color correction, and sound — mixing audio, adding voiceover or dialogue, and exporting the final file. By the end, what started as a pile of separate pieces is one polished, ready-to-publish shot.
At larger studios, all this work is often split up — some artists specialize in keyframes, others in inbetweens, others in cleanup or storyboarding alone. On smaller teams or independent projects, one animator often handles it all, which means knowing the fundamentals of every stage matters even more. You don’t need to know how to draw to get started, but understanding these basics goes a long way.
What to Look Out for in Animation Software
As you start exploring the tools animators use, it helps to first think about what you want to create. Leaning toward 2D, 3D, VFX, or mixed media? Interested in stop motion or claymation? Maybe you’re drawn to a specific piece of the process, like animating characters, backgrounds, props, or visual effects, or perhaps you just want to try a bit of everything and see what sticks. Each of those paths tends to lean on different software, so knowing what you’re after can help narrow down where to start.
Most Common Tools Animators Use
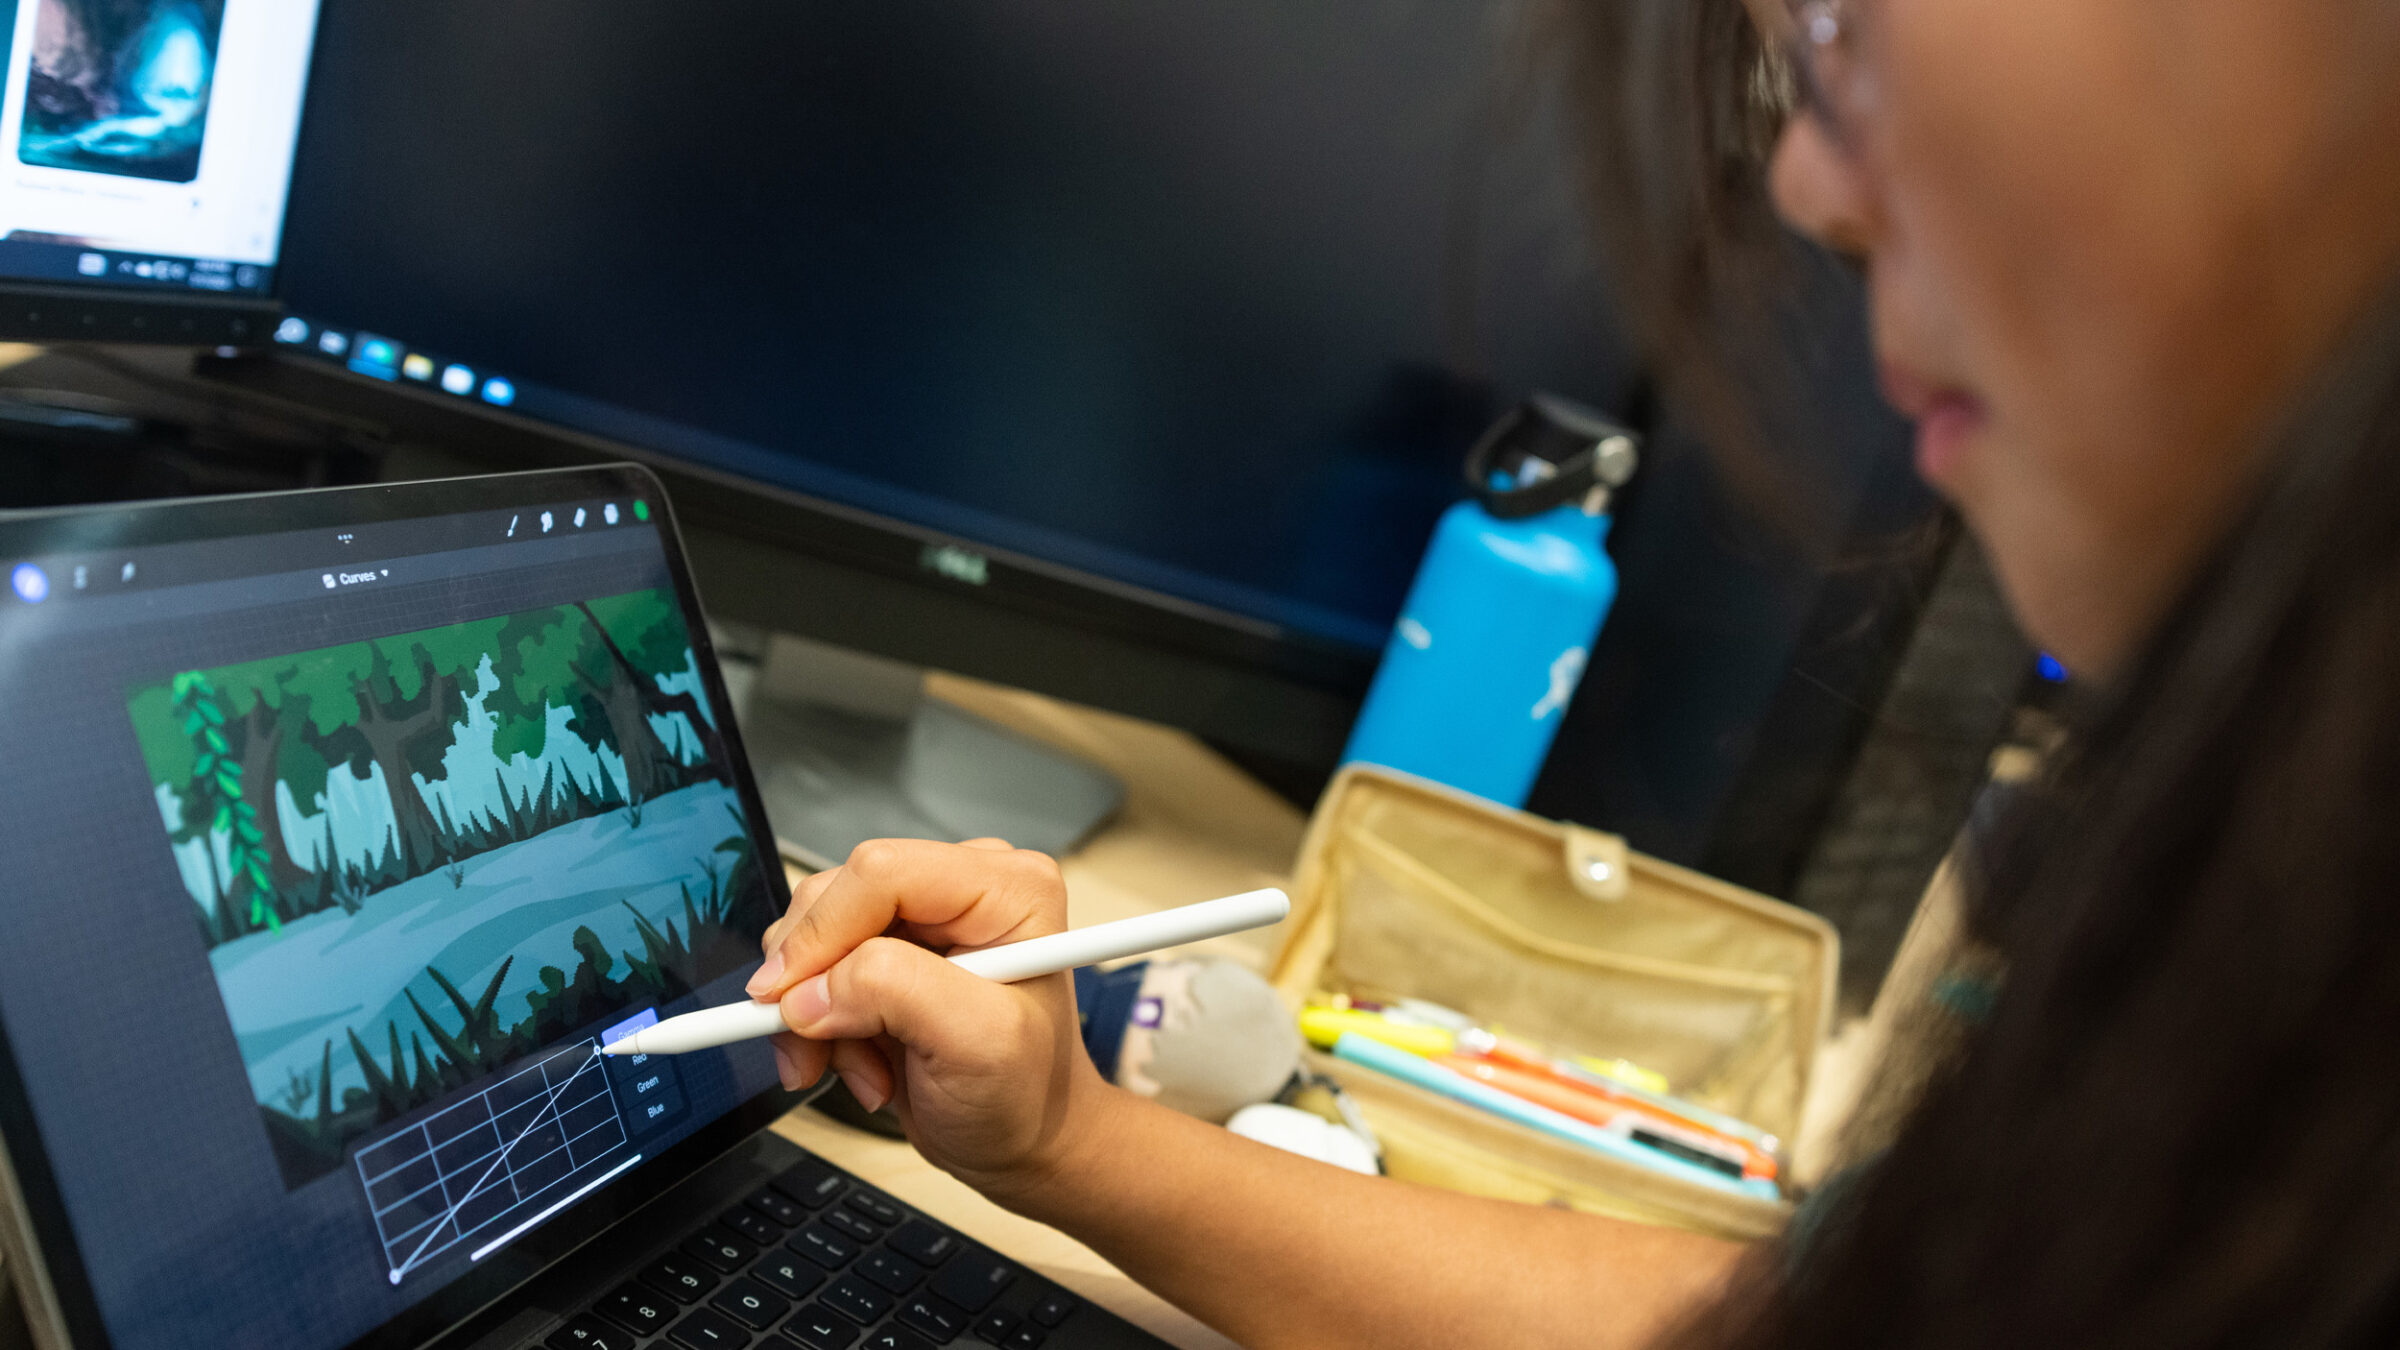
That combination of creativity, research, and technical skill all comes back to one thing: the right tools. Let’s take a look at the software animators use to bring their work to life. It’s important to note that not every animator uses all of these, and you don’t need to either — plenty of great work gets made with just one or two tools, sometimes even the free ones. Think of this less as a checklist and more as a map of what’s out there, so you know your options when you’re ready to start.
Autodesk Maya
Autodesk Maya is an industry-standard software best known for its high-quality 3D animation and visual effects. It handles modeling, character rigging, simulation, and rendering in a single program, and it shows up consistently across film, television, and video games.
Though it has a steep learning curve, it has many features designed to help automate tedious processes, such as procedural workflow generation for simulations and effects, in-engine game studio pipelines, smart technologies to turn live action into CG (computer-generated) animations, and controllable AI tools built with artists in mind.
Maya’s pricing varies by plan and term, but you can expect your monthly subscription to cost roughly between $235–$255, with lower per-month pricing available on annual or multi-year terms. All Autodesk products offer free, educational versions of their animation software for students. Take a look at the different plans and sign up for a free trial if one’s available.
Blender
Blender covers much of the same ground as Maya — modeling, rigging, animation, simulation, and rendering — but it’s free and open-source, making it one of the most accessible entry points into 3D animation work. It’s actively developed by a large community with new features and improvements rolling out multiple times a year.
As an animation software with a little bit of everything, Blender has become a go-to tool for freelancers and indie developers, and its sculpting and rigging capabilities make it especially strong for 3D animators. It’s also gained ground with 2D animators through updates to its Grease Pencil tool, which lets artists draw directly in the viewport before positioning, rotating, and animating those drawings alongside other assets, rather than overlaying flat artwork on top of a scene.
You won’t find Blender listed as an industry-standard (yet!), but it’s completely free to download and use, with no subscription required — making it one of the best 3D animation software options for beginners.
Toon Boom Harmony
Toon Boom Harmony is the industry standard for 2D animation. It’s an all-in-one tool, meaning artists can draw, rig characters, and even composite the final scene without ever leaving the program. It handles traditional frame-by-frame drawing as well as puppet-style rigging, the technique behind shows like Bluey, which move more like a marionette than hand-drawn frames.
Harmony isn’t Toon Boom’s only product; the company also offers Storyboard Pro for pre-production and storyboarding, and Producer for managing production workflows across a team. Toon Boom has also rolled out Ember, an AI-assisted add-on built directly into Harmony and Storyboard Pro, to automate masking and break down scripts into scenes.
Toon Boom Harmony is a solid choice for 2D animators looking for an animation tool that comes with learning resources and tutorials, but has a steeper learning curve given the number of built-in systems you’ll have to learn. You can expect to pay around $30/month for the entry-level essentials, with more advanced tiers running at higher price points with studio-grade features. Students can also receive discounts on every version as part of their verified student license program.
ZBrush
Much like the hands-on feeling of shaping clay, ZBrush lets artists sculpt, texture, and paint highly detailed 3D characters and models before bringing them into animation or rendering software. It’s the industry standard for digital sculpting and is used across film, video games, illustration, and even 3D printing.
One standout feature of ZBrush’s animation software lets you paint directly onto a model’s surface in real time, allowing you to explore color, texture, and detail as you go rather than locking in decisions before you start. When you’re ready to show off your work, ZBrush also includes rendering tools like Redshift and BPR (Best Preview Render) to bring your sculpt to life.
ZBrush is perfect for artists focused on character and modeling design, especially those who want the hands-on feel of sculpting without the mess of actual clay. Students can expect to pay around $60 a year for ZBrush, depending on the plan and billing term you choose.
Unreal Engine
Typically known for video games, Epic Games’ Unreal Engine is also a serious animation tool — especially with its real-time rendering capabilities. Instead of waiting hours for a scene to render, you can preview it, tweak it, and even finalize it while you’re working. Whatever look you’re going for — photorealistic, highly stylized, or anywhere in between — Unreal Engine can handle it, and you get to see it in real time.
As a beginner, you don’t have to build everything from scratch when getting started with Unreal Engine. Epic offers free resources like the Animation Starter Pack, a set of pre-rigged animations you can use to learn how rigging and animation actually work inside the engine before creating anything of your own.
If you’re interested in real-time animation, virtual production, or the growing overlap between animation and game development, Unreal Engine is a great option. And the best part? There’s no starting cost: Epic Games only takes a royalty once a project earns more than $1 million in revenue, so you can build and experiment without worrying about cost upfront.
Did You Know?
Unreal Engine isn’t just a game tool. It has found a real home in film and TV production too — it’s part of the virtual production technology behind shows like The Mandalorian, where massive LED walls display real-time backgrounds instead of a traditional green screen.
The Adobe Suite
The Adobe Suite isn’t just one program — it’s a whole toolkit, with each piece picking up where the last one leaves off. It usually starts in Photoshop or Illustrator, sketching out concept art, backgrounds, and character designs before anything moves. From there, 2D animators bring those characters to life in Adobe Animate, while 3D animators head to Substance 3D to texture and add materials to their models. Once the animation is done, After Effects and Premiere Pro take over, layering in effects and cutting everything into one final, polished video.
The programs all work together, too — a character built in Animate can move straight into After Effects, then Premiere, without ever leaving Adobe’s ecosystem. That makes it especially useful for post-production, where pulling together layers, sound, and final touches matters just as much as the animation itself.
If you’re up for the challenge, Adobe’s Creative Cloud can be a solid entry point for post-production, compositing, or 2D animation. Just know going in that with so many programs bundled together, it can feel a little overwhelming (and pricier) compared to picking up a single, more focused tool. You can expect to pay roughly $50/month for Creative Cloud Standard, or between $20–$60/month for individual apps like Adobe Substance 3D.
Adobe – Included
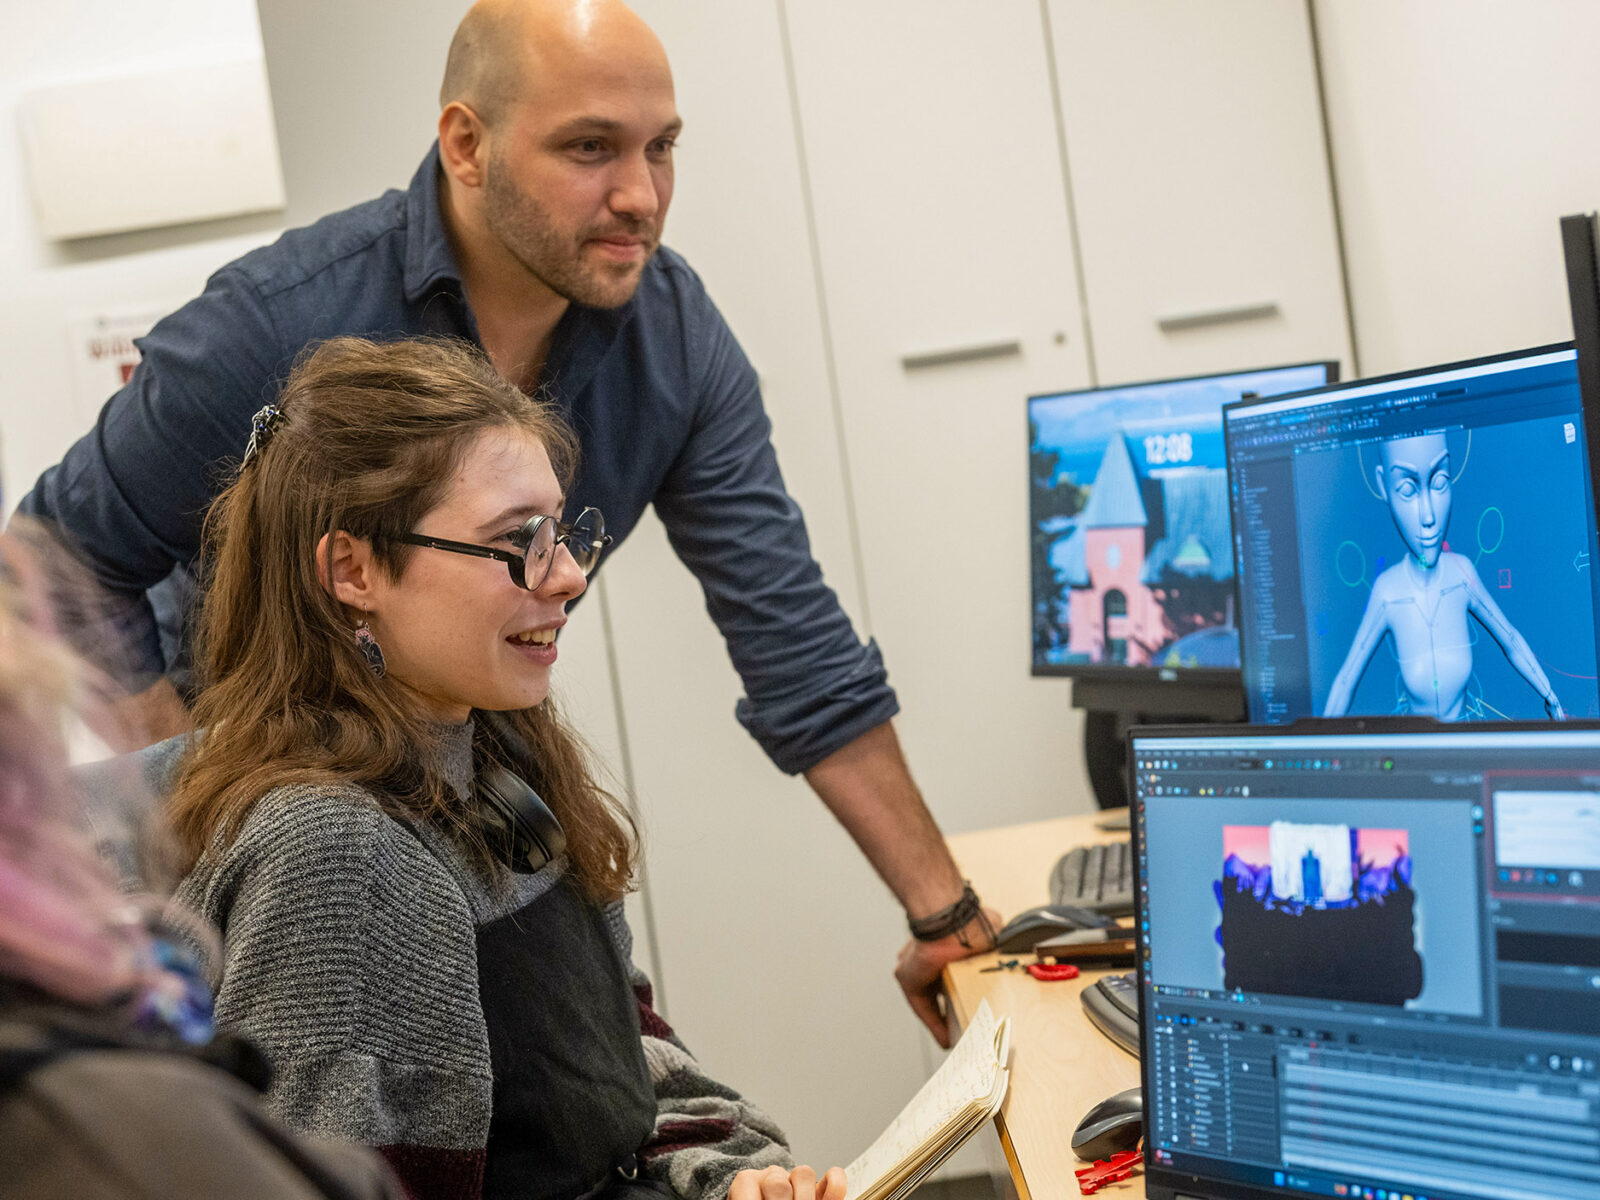
Every Champlain student has access to the full Adobe Suite — Photoshop, Illustrator, Animate, After Effects, Premiere, and more — included in tuition.
Learn More About AnimationCinema 4D
MAXON’s Cinema 4D is the industry standard for motion graphics — think title sequences, broadcast graphics, and the kind of slick, animated text and shapes you see in commercials and intros. It’s also a solid 3D modeling and animation tool, and it’s known for being one of the easier animation programs to pick up as a beginner.
Aside from integrating directly with Adobe’s After Effects, its standout feature is MoGraph, a system for building repeating patterns, spinning text, and other motion graphics more quickly, instead of animating every piece by hand. It’s the kind of tool behind flashy title sequences and broadcast graphics, like the opening for HBO’s ‘The Last of Us’. Cinema 4D also comes with built-in tools for simulating things like fire, smoke, and water, so you don’t need extra plugins to pull off bigger effects. There’s also a beta version for iPad, if you’d rather sketch out ideas on a tablet before jumping into the full desktop program.
With its easier learning curve, Cinema 4D is a great option for beginners — though it comes with a steeper price than some other tools on this list, running around $60–$70/month depending on your plan. It’s also made by the same company behind ZBrush, so if you end up using both, the tools may feel a little familiar.


Try for Yourself!
Before committing to any one piece of software, it’s worth trying it out first. Most tools offer free trials, and it’s always a good idea to reach out to customer support about pricing or plan details before you commit to a plan with a high price tag. Or, if you’d rather skip the guesswork entirely, you could learn these tools hands-on in class, alongside industry professionals, as part of a program like Champlain’s.
Frequently Asked Questions
-
Is animation software all that matters?
Definitely not. Software is just the tool that brings an idea to life — the real work happens before you ever open a program, with scripts, storyboards, and character design laying the groundwork for everything that follows. And no single tool does it all: Maya and Blender handle 3D, Toon Boom Harmony covers 2D, ZBrush is for sculpting characters, Unreal Engine speeds up rendering, and the Adobe Suite ties everything together in post-production. Knowing your way around any of these matters, but it’s the storytelling underneath that actually makes an animation worth watching.
-
Do I need to know how to draw to be an animator?
Not necessarily. Some animators build their strengths elsewhere first — in 3D modeling, rigging, or visual effects — and only develop drawing skills later, if at all. What matters more early on is a general sense of space, depth, and design, since that foundation carries into whatever specialty you end up focusing on.
“We do want the students to have some sort of perception of space, depth, drawing, and quality in their art,” says Animation Professor Felipe Lega. “But student talent is still in early development, and it’s often hard to judge someone based on their first portfolio alone. A student who isn’t great at drawing but loves process-driven work could end up being a fantastic rigger. There’s no hard rule — it’s less about judging the student and more about getting to know them as people and as artists, and helping them discover their own areas of interest.”
-
Which software is best for character animations?
It depends on the style you’re working in. Autodesk Maya is the industry standard for 3D character animation, rigging, and simulation, while Toon Boom Harmony holds that same spot for 2D. Free options like Blender also handle character animation well, especially for anyone just getting started.
-
You can learn almost anything on YouTube. Why go to college for Animation?
You can definitely pick up bits and pieces online, but not every tutorial out there is good — it’s easy to end up learning bad habits without even realizing it. College also gives you things YouTube can’t: working alongside other students on real projects, building the teamwork and communication skills you’ll actually need on the job, and learning from professors who’ve been in the industry themselves.
As Felipe Lega puts it: “The value of college isn’t just the technical skills — it’s learning not to give up, learning from the people around you, teamwork, and a holistic approach to education that you simply won’t get from a channel on YouTube. Faculty here act as mentors. We’re not just teaching students how to draw or animate. We’re guiding them on how to carry themselves, how to be professional, and how to be ready to build their careers. That mentorship, that human connection, is what makes the real difference. It’s the thing you can’t download, and it’s the thing that stays with you long after graduation. At Champlain College, this is our main focus.”
Bring Your Animation Ideas to Life at Champlain College
Animation isn’t just movies and animated series. It shows up in immersive experiences, architecture, product design, explanatory videos, VFX for film and advertising, and plenty of other places you might not immediately think of. At its core, it’s still what it’s always been: the art of giving life to ideas. Studying animation gives you room to take that creativity in almost any direction — and many of our students go well beyond the basics, producing professional-level work while they’re still here. The tools and thinking you learn carry over into way more than just character-driven storytelling.
At Champlain College, creativity comes first. You’ll build your foundation in art, storytelling, and idea development before ever touching the software. From there, you’ll build hands-on skills using the same animation software studios use, directly from industry professionals. Plus, our 30 flexible credits help you lean into whatever area interests you most, like 2D, 3D, VFX, immersive/virtual production, or something else entirely.
That guidance goes beyond the technical skills, too. Champlain’s faculty mentor you not only in technical skills, but in people skills too — how to carry yourself, how to be professional, and how to be ready to build a career. That mentorship is what makes the real difference, and it’s something you won’t find watching tutorials on your own. By the time you graduate, you’ll have standout reels and finished projects to show for it — and of course, your diploma.
At the end of the day, software is just a means to an end. The real work — the ideas, the planning, the story you’re trying to tell — starts long before you open a program. Wherever you decide to start, the most important tool is still you!
Animation Careers Start Here
Fill out the form below to receive more information about our Animation degree program.
All trademarks, service marks, trade names, and logos referenced in this article are the property of their respective owners. All company, product, and service names used in this article are for identification purposes only.